13 Tips for Keeping Food Icy Cold in a Cooler
Fun in the Sun!
With summer now in full swing, many families are spending more time outdoors. While every family is different in how they choose to enjoy the summer heat, one thing most families have in common is the use of a cooler for summer outings.
Unfortunately, one detail many of us overlook in planning our summer adventures is how to ensure our food stays nice and cold while storing it in a cooler. Whether you are planning a day at the beach or a family camping trip; nothing puts a damper on your fun faster than spoiled food or a case of food poisoning!
So today I am going to share my best tips for keeping food cold in a cooler (especially for an extended period of time)!
This post contains affiliate links, which means I receive a small commission, at no extra cost to you, if you make a purchase using this link. Please see my disclosure for more information.
13 Icy Tips for Keeping Your Food Cold In a Cooler
Tip #1: Use the right type of cooler for your chosen activity
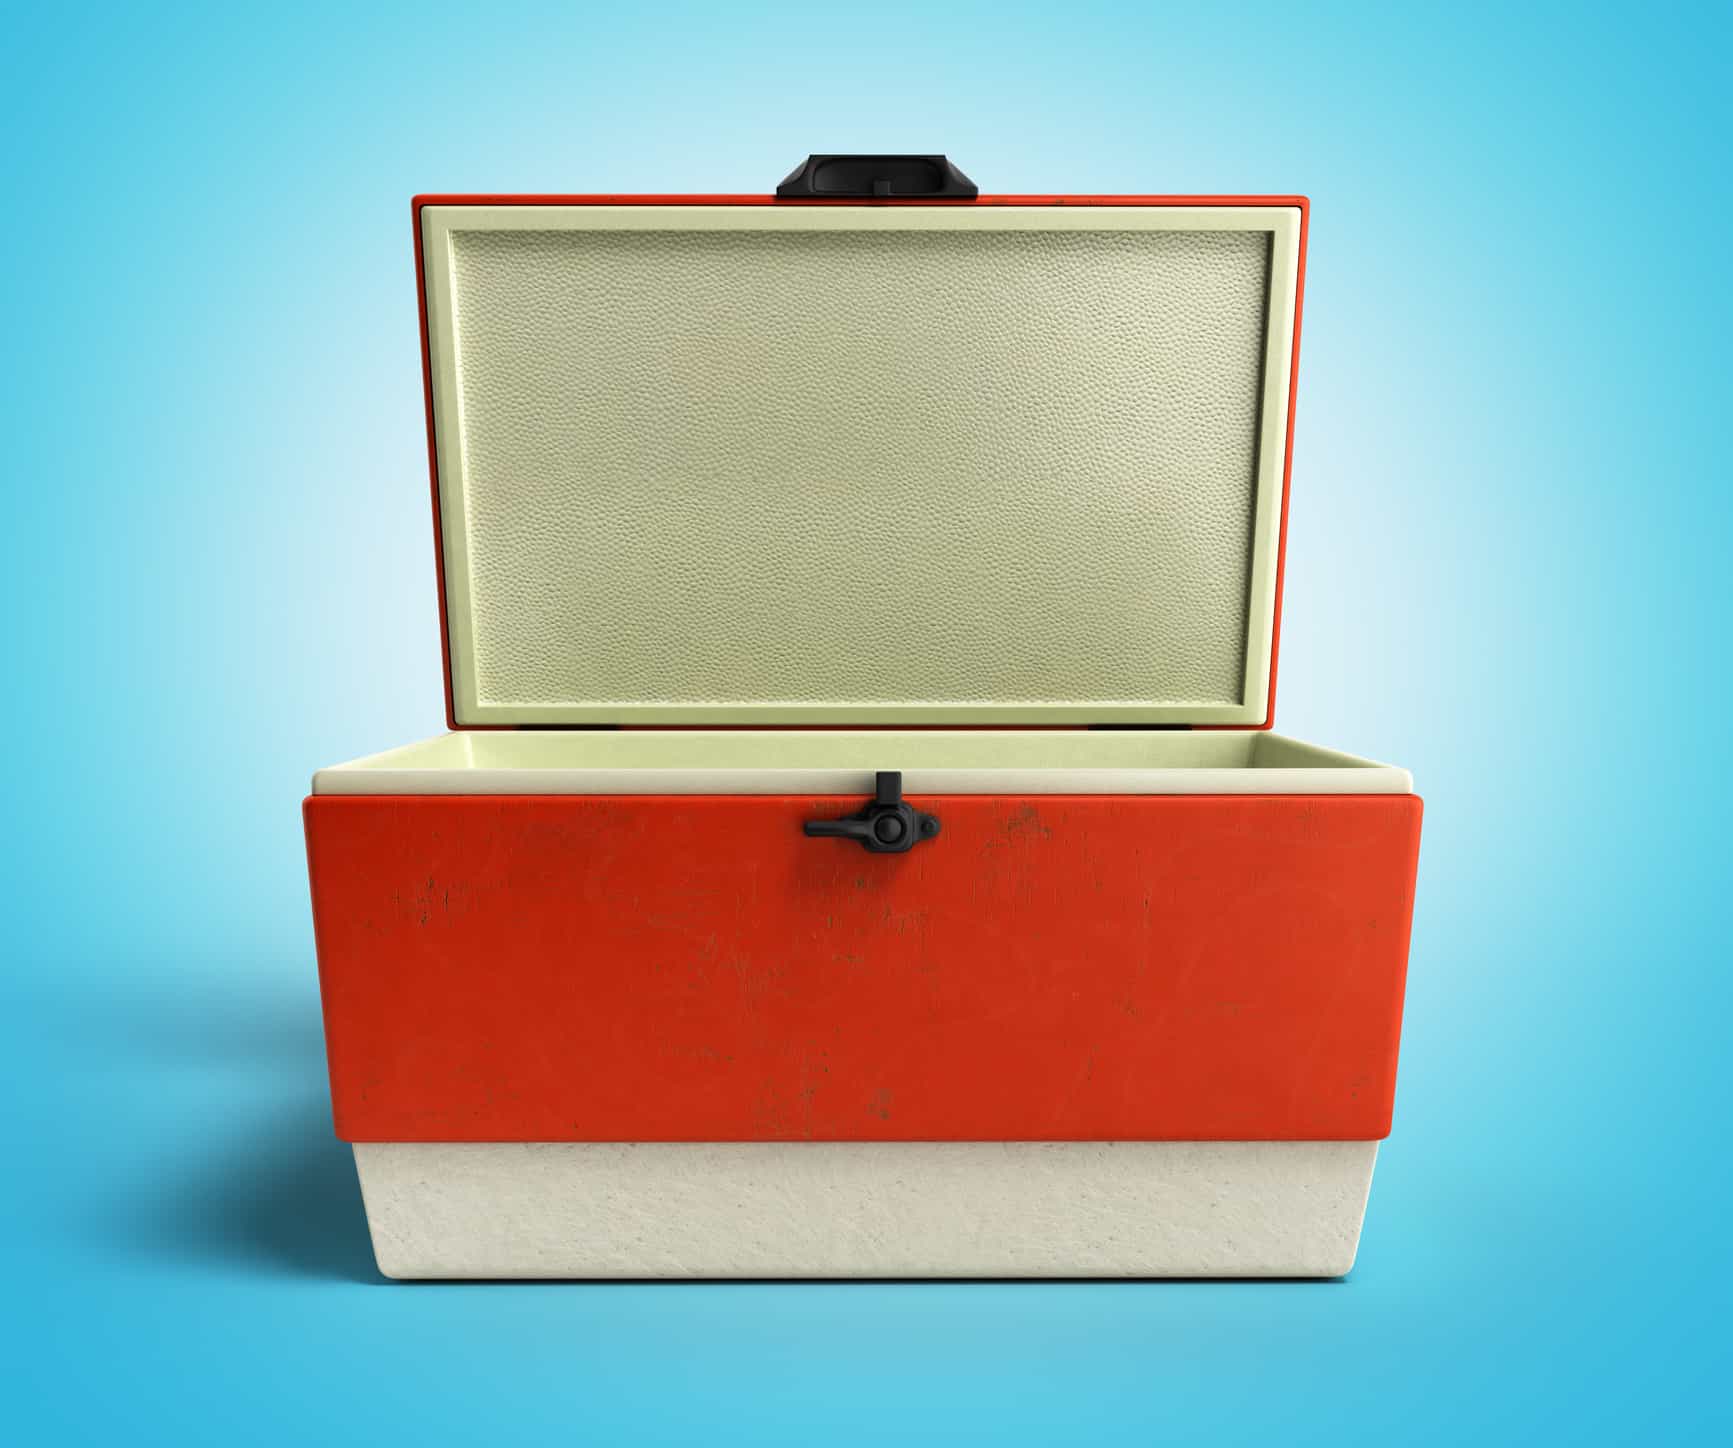
As you may already know not all coolers are created equal. While they are all designed to keep food cold, some are better for certain types of activities than others. Let’s talk a little bit about the two different kinds of coolers:
Soft-Sided Coolers: There are definitely some positives to using a soft-sided cooler. They collapse when not in use (taking up less storage or trunk space), weigh less, are generally smaller than hard-sided coolers, and are more portable.
Given their versatility, the best use for soft-sided coolers are day trips. This is also due to the fact that soft-sided coolers do not have as good ice retention as hard-sided coolers.
Hard-Sided Coolers: The benefits of a hard-sided cooler are they are more durable, have better ice retention, and generally have more storage capacity than a soft-sided cooler.
Hard-sided coolers are best for multi-day summer outings (e.g. weekend camping trips or primitive camping) or when you need more food storage space. This is our favorite hard-sided cooler.
Tip #2: Use the correct size of cooler
This might seem like an odd recommendation but it is actually very important in ensuring your food stays properly chilled. When packing your food into your cooler you want to achieve the following:
One part ice to two parts food (at a minimum)
Two parts ice to one part food (if you will not be able to restock your ice for multiple days)
If your cooler is too small you won’t be able to fit enough ice to keep your food cold.
If your cooler is too big you will be left with empty air space. Air heats up quickly which reduces the effectiveness of your cooler.
Obviously, this all depends on how much food you want to pack, which is why if you are an outdoor enthusiast having multiple sizes of coolers can be beneficial.
Tip #3: Pre-cool your cooler and food items
Start cooling your cooler down about 24 hours before using it. This can be done by filling it with a few bags of sacrificial ice, putting it into your freezer, or leaving it outside overnight (depending on nighttime temperatures). You will also want to make sure anything you want to go into the cooler has been refrigerated (i.e. beverages). This extra effort will go a long way in ice retention.
Tip #4: Freeze what you can
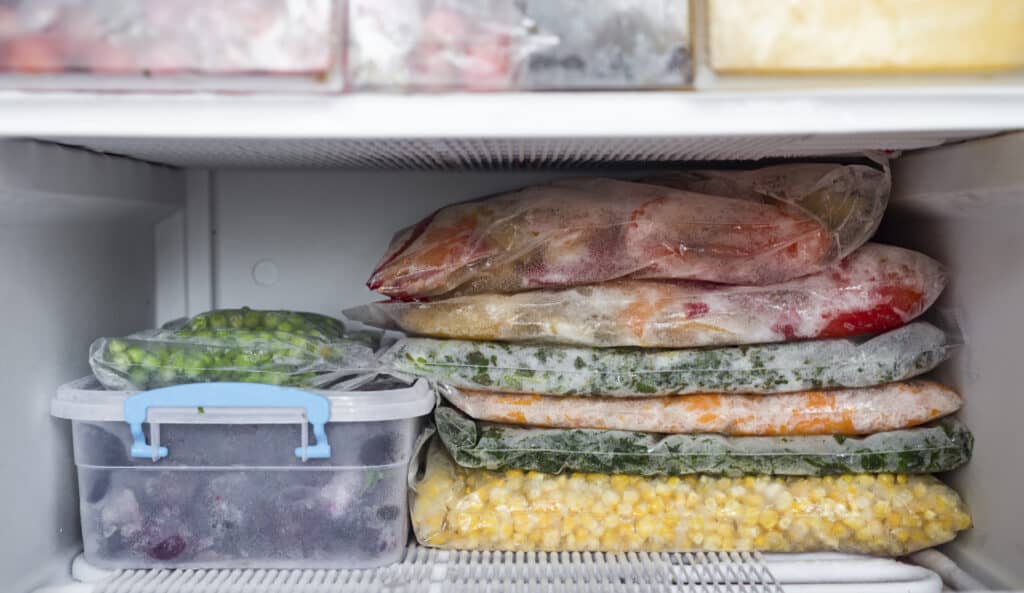
When preparing your food for your outing, freeze what you can. I generally freeze the following:
- Raw Meat
- Pre-cooked meals
- Water bottles
- Bread products
NOTE: I always put my bread in a cooler when I go camping. If you pack your bread with your dry goods you will quickly find that it will sweat in its plastic bag and begin to grow mold. Not awesome! One thing you have to be careful with, however, is that your bread doesn’t get soggy in the cooler due to melting ice. One way to get around this is to freeze your bread and store it in a separate cooler without any ice.
Tip #5: Line your cooler with Reflectix

If you will be camping off the grid for an extended period of time or just want to increase your cooler’s ice retention capabilities try lining your cooler with Reflectix. Reflectix was designed for insulating homes and buildings but also does an awesome job of insulting coolers. You can find it at any home improvement store or on Amazon. Simply cut the Reflectix into pieces to line the inside of your cooler, including the lid. If you want to be extra thorough then you can even put a sheet Reflectix over the outside of your cooler for further insulation.
Don’t want to buy Reflectix? Try aluminum foil instead! It won’t work as well but it’s definitely easier to come by in a pinch.
Tip #6: Choose your ice carefully
When packing your cooler it is important to be wise in how you choose your ice.
Loose Ice
While loose ice cools things down faster than a block of ice it does not last as long. In fact, loose ice is the fastest melting option for packing your cooler. For this reason, loose ice is best for day outings. If you choose to use loose ice for a multi-day outing be prepared to spend more money on ice due to frequent refills. Loose ice is also more likely to turn your cooler into a swimming pool which can make for soggy food and increase the risk of cross-contamination.
Block Ice
A block of ice will last longer than loose ice and is a good option for trips that are longer than a day. Given that it is one solid piece of ice it will take longer to melt, thus keeping your cooler at a better internal temperature. You definitely get more bang for your buck with a block of ice over loose ice.
Frozen Water Bottles or Milk Jugs
If you are planning on bringing water on your camping trip consider freezing water bottles or filling milk jugs and freezing them. This is an affordable option over a block of ice. It also serves a dual purpose since you can drink the water once it thaws. My favorite thing about using frozen water bottles is that when they melt you don’t end up with a soupy mess in your cooler.
Ice Packs
Ice packs are nice to have but their main drawbacks are they cost more than frozen water bottles and you can’t drink them once they thaw. But if you have some on hand there is no reason why you shouldn’t use them!
Frozen Food
Another great way to keep your cooler cold (and your food safe) is to prepare your meals and freeze them. This saves meal prep time when you are camping and it ensures your food stays in the safe zone of 40 degrees or colder.
Dry Ice
If you are going to be camping for a good long while or won’t have the option of buying more ice then give dry ice a try. Just be aware of the following. Dry ice requires special handling. You never want to touch dry ice with your bare hands as it will burn you.
When using dry ice wear gloves and wrap it in newspaper before putting it into your cooler. Dry ice will crack a plastic cooler if it comes in direct contact with the cooler liner so either place the dry ice on top of your food or use a rack or a dish to create a barrier between the dry ice and your cooler. Also, anything stored directly next to dry ice will freeze so keep that in mind when packing your cooler.
Another way you can use dry ice is to keep bottles of water or ice packs frozen. Then you have a fresh supply when the ones in your cooler melt. This also removes the worry of having to handle the dry ice (which is nice if you have kids getting into the cooler) or dry ice freezing your food.
Tip #7: Be wise in how you pack your cooler
For optimal cooling, be sure to keep the following things in mind when packing your cooler:
Cold air flows downward: This means you want to place food items into your cooler first and then top it with ice!
Pack your cooler by meal: This will remove the need to have your cooler open for an extended period of time while you dig for food items.
Place perishable items directly on ice: such as dairy products, meat, etc.
Tip #8: Use a refrigerator thermometer

Each cooler is a little different in how it holds its temperature, that is why it is helpful to have a refrigerator thermometer. It is the easiest way to ensure that your cooler is staying at the proper temperature. As a rule of thumb, the inside of your cooler should be 40 degrees or lower at all times.
Not sure which one to get or where to find one? Check out this one from Amazon!
Tip #9: Keep beverages in a separate cooler
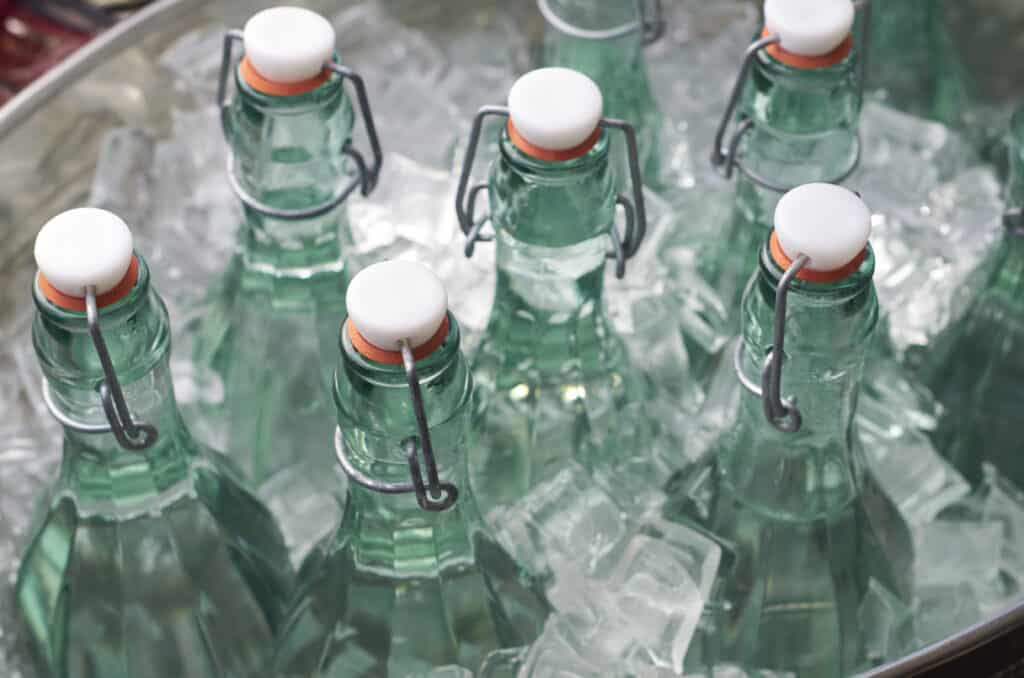
If you are going to be accessing drinks frequently throughout your trip consider packing them in a separate cooler. Coolers have a hard time retaining their internal temperature if the lid is being opened frequently. By storing your drinks separately you don’t have to worry about your food or your kids not shutting the lid tightly.
Tip #10: Keep extra space packed with ice
As the contents of your cooler begin to decrease you will want to fill the extra space with ice. As I mentioned above having a lot of empty air space decreases the efficiency of your cooler and makes it harder to keep the internal temperature at 40 degrees or lower.
Tip #11: Keep your Cooler out of direct sunlight
This is one is a no-brainer but a good reminder. The more you can keep your cooler out of the sun, the longer your ice will last = nice cold food!
Tip #12: Avoid draining the water
While it would be better to have a cooler full of ice, cold water will work in a pinch for keeping your food cold. The one thing to keep in mind with water is that if your food is not sealed well then you may end up with waterlogged food.
Tip #13: The Truth about Salt
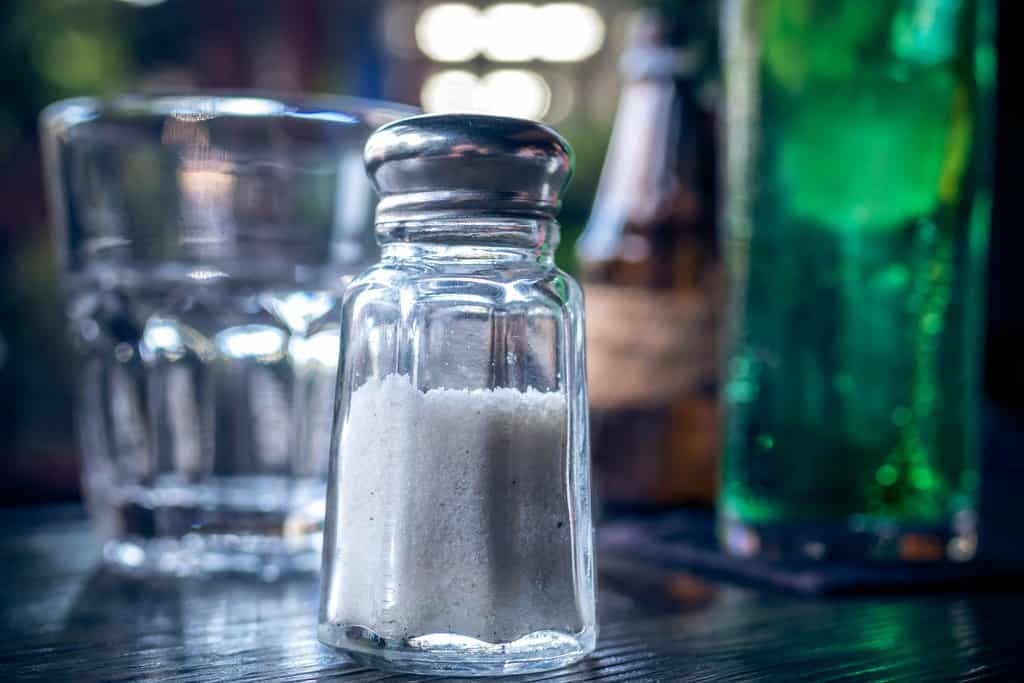
You may have heard that one way to keep your cooler cold is by adding salt to your ice. Personally, I would not recommend this, and here is why. When you add salt to ice it decreases the freezing point of your ice, meaning it will actually melt your ice! That is why in the winter salt is applied to roads and sidewalks. If you dislike soupy coolers (like me) the last thing you want is for your ice to melt prematurely. So why do people recommend adding salt? Because when salt melts ice, it makes the water left in the cooler colder. Personally I rather preserve my ice, than have my food floating in cold water.
Happy Adventures!
Hopefully, you found the above tips helpful! The last thing you want to be worrying about is your food when you are out adventuring as a family. If you have other cooler tips please leave them in the comments below. I would love to hear them!


I love your blog, Anne! would add bringing some tupperware containers! Then when the cooler starts to melt, you can throw some of the leaker bags (lettuce) and boxes (butter) into tupperwares that float in the water. =)
Ah thanks Olivia! That is a great suggestion! Nothing is worse than having your egg container or butter box disintegrate because they got wet in a soupy cooler!
Awesome tips had no idea about cold air flows downward i.just put ice in however, food in cooler or food out than place it but now I will always do it the way you said 😀. Awesome tips!
Awesome tips had no idea about cold air flows downward i.just put ice in however, food in cooler or food out than place it but now I will always do it the way you said 😀.
I’m glad you found the tips helpful 🙂