How to Pick a Daypack: A Beginner’s Guide
My Weakness for Outdoor Gear
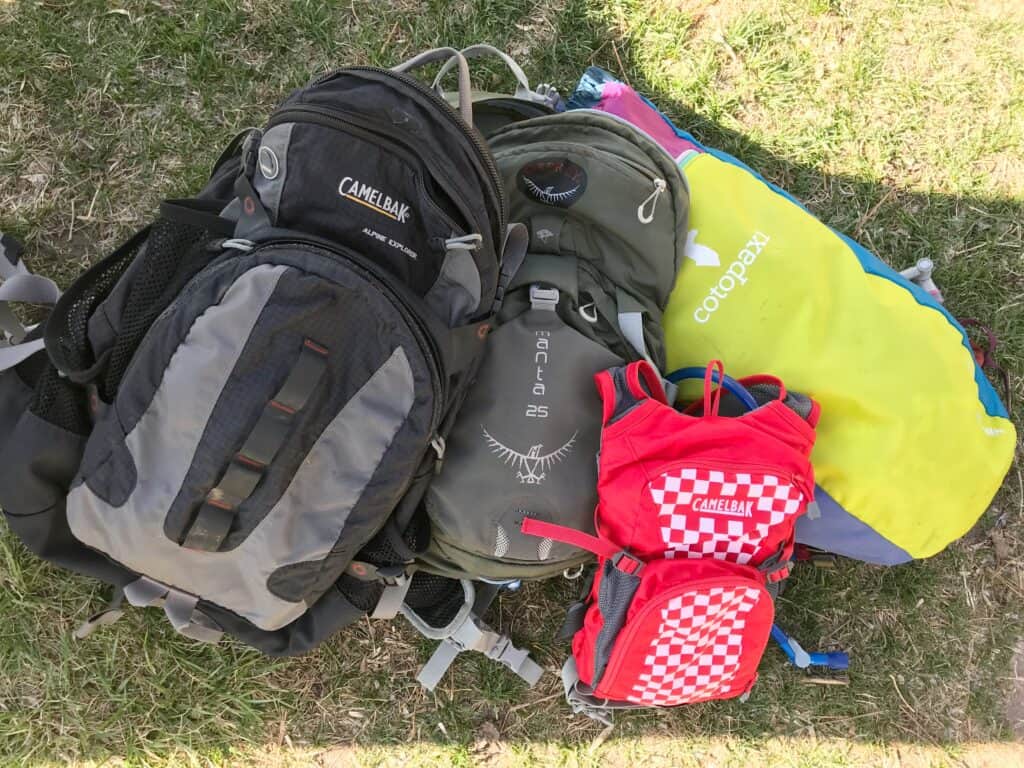
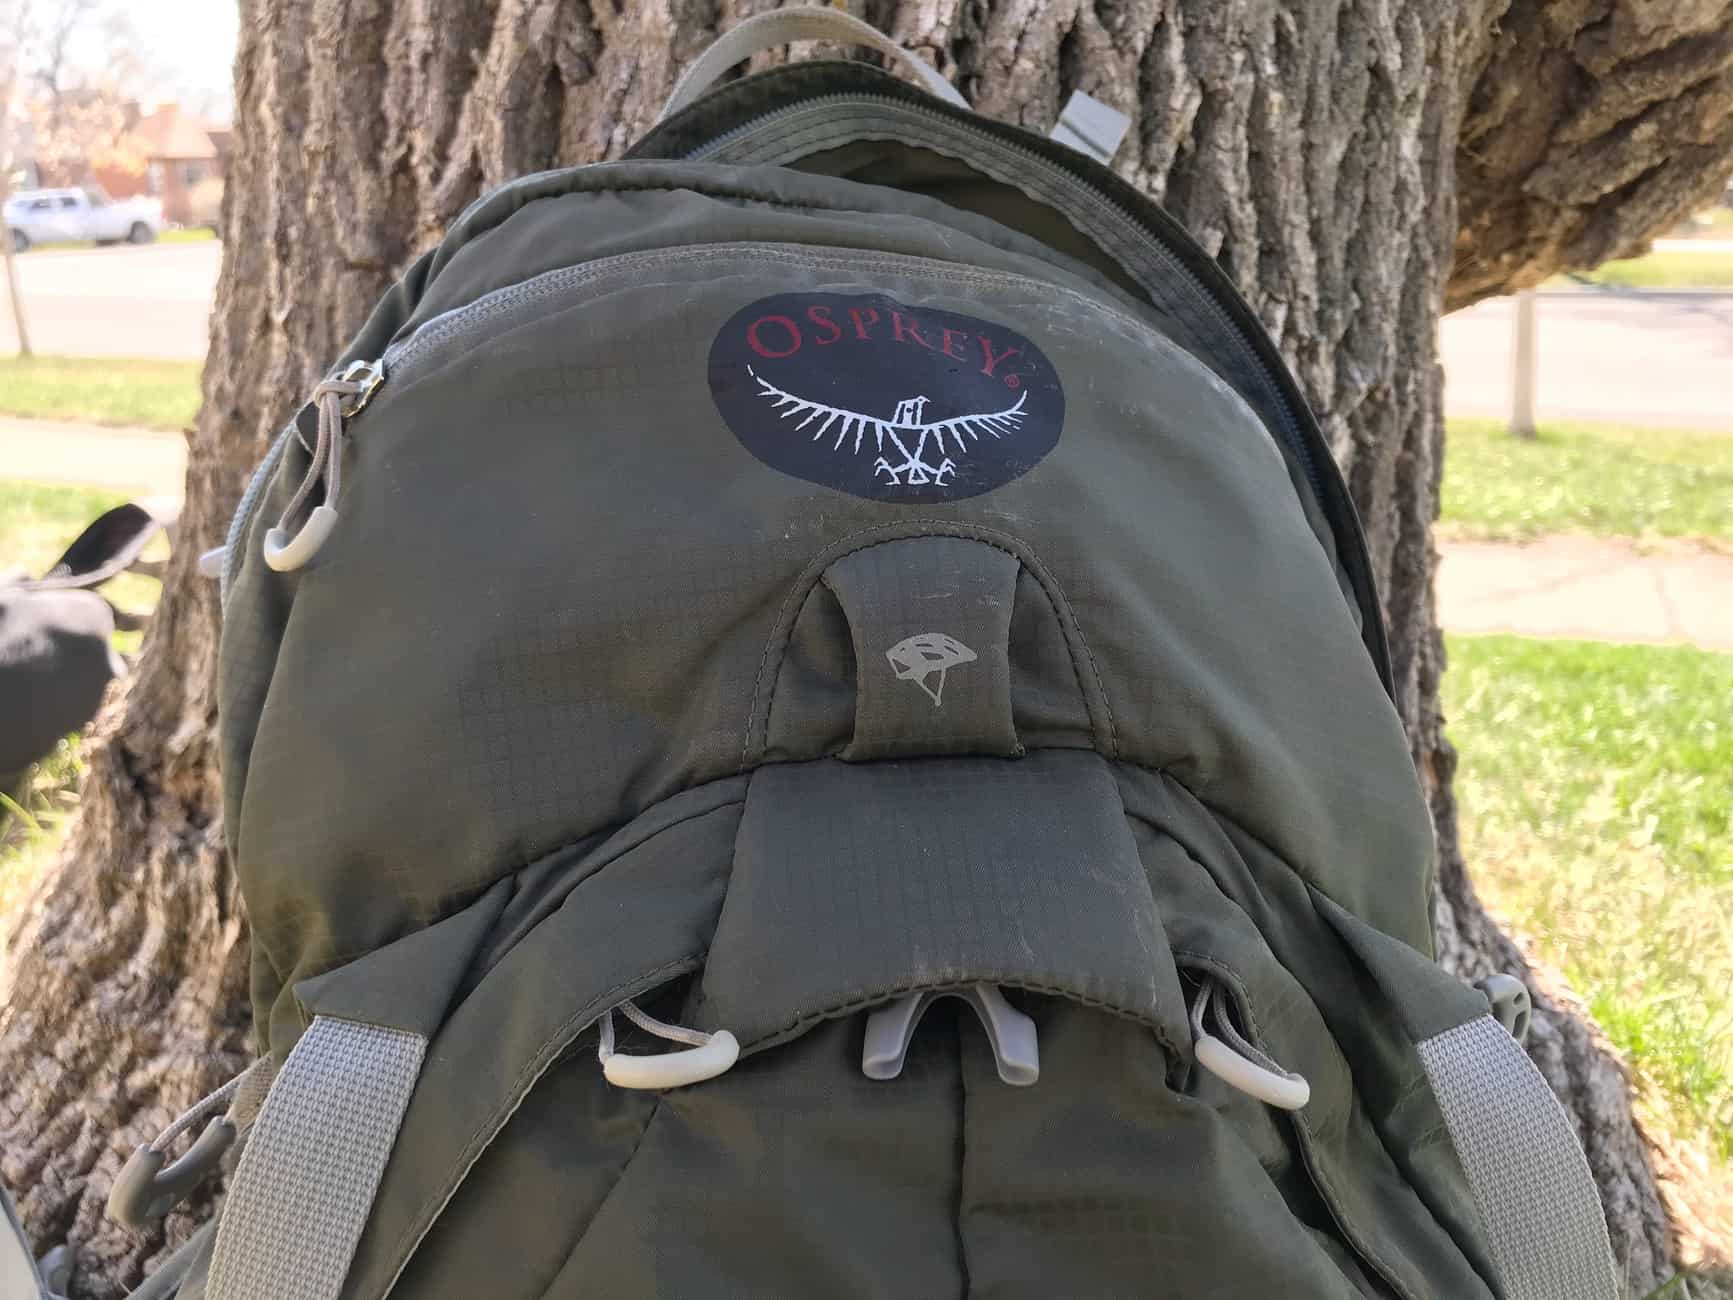
Some girls like buying shoes, others like buying bags, personally, I like buying outdoor gear. Nothing brings me more glee than finding a new piece of equipment to add to my outdoor gear collection. That was how I felt 10 years ago when I decided to retire my small Camelbak for a brand new Osprey pack. I was in seventh heaven. However, when I made that purchase I had no idea what to look for in a daypack. All I knew was I needed to be able to carry at least 100 oz of water. It’s no wonder that I walked out of REI that day the proud new owner of an Osprey Manta 25L daypack which is, by the way, a men’s daypack. Unfortunately, there was no friendly REI employee that day to steer me clear of that purchase. Thankfully, I was young and had money and the pack has worked out great.
But there is no need for you to make the same (expensive) mistake that I did. That’s why today I am sharing with you my beginner’s guide to buying a daypack. Because let’s face it, picking a good daypack can be overwhelming. There are a ton of different options on the market with loads of features. In this guide, I cover all you need to know to find the perfect pack that fits your needs and your budget.
Daypacks: How to Choose
So let’s get down to the nitty-gritty. Below are five easy steps to guide you through the daypack buying experience.
Step One: Activity

Before you start looking at daypacks, you will first want to determine what you are going to use it for. While most packs on the market can easily be used for a variety of activities, to get the most bang for your buck you will want to pick one that is designed for the activity you will be doing the most. This will ensure you get a pack that has the features that you need. For example, a pack designed for trail running is not going to be a good fit for rock climbing or mountaineering.
Step Two: Capacity
Once you have determined what activity you will be using your daypack for, you will then want to consider which capacity will best meet your needs. Despite what my husband thinks, bigger is not always better! The easiest way to determine what capacity you will need is to think about how long your average outings are and if you frequently need to bring additional gear. Once you have figured that out use the guide below to decide which size will best meet your needs.
Size Based on Needs:
10L or Less: Best for activities where you need minimal gear or want to reduce weight, such as trail running.
11-20L: Best for half-day trips, such as hiking or mountain biking. These packs provide enough space to bring water, snacks, and an extra layer.
21-35L: Best for all-day outings. These packs are large enough to bring enough water and food for an entire day, as well as space for an extra layer.
36-50L: Best for all-day outings that require additional gear or additional layers, such as rock climbing, mountaineering, skiing/snowboarding, or snowshoeing.
NOTE: If you are a parent that has to also carry gear for your kids then you will want to take that into account when you are deciding how big of a daypack you need. For example, I hike with my two kids and have to bring extra layers, food, and water for them. While we do relatively short hikes, I need at least a 21L bag to fit stuff for three people.
Step Three: Features
There are a lot of features to consider when it comes to getting a daypack. They just keep getting fancier and fancier. To make it easier, below I have outlined all the different features you can get and what the benefits are of each feature.
Adjustable Torso Length vs. Fixed Torso Length:
If a pack has an adjustable torso length that means you can adjust the length between the shoulder straps and waist straps to fit the length of your torso. If a pack does not have this feature then it is considered to be a fixed torso length pack.
You can find quality packs with either option, but here are some reasons why you may want to buy a pack with an adjustable torso length:
- If you want a more precise fit
- If you plan on sharing the pack with someone that is taller or shorter than you
- If you are buying a pack for a child that hasn’t finished growing
Internal Frame vs. Frameless:
Daypacks with internal frames include one or two aluminum stays (long, flat bars) that provide the pack with support. Below are some things you will want to consider in determining whether to get a pack with an internal frame or to go frameless.
Internal Frame: Packs with an internal frame are better equipped for handling more gear and heavier loads.
Frameless: Usually cheaper than daypacks with internal frames. They are also lighter since they don’t have the added component of aluminum stays.
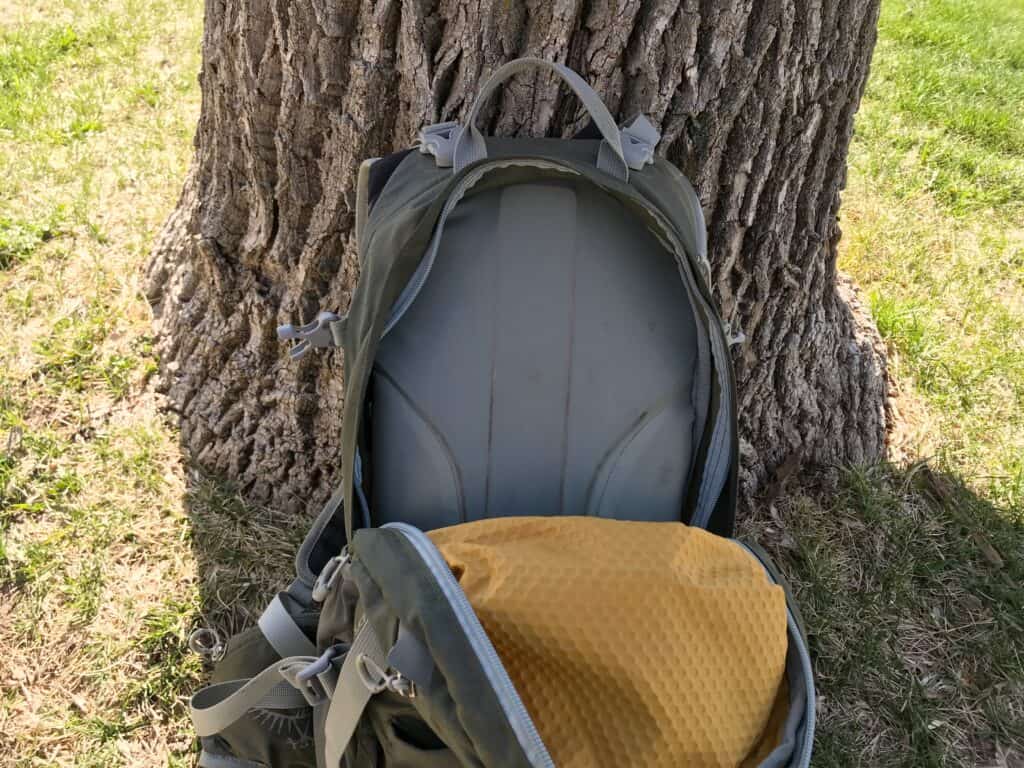
Back Panel Ventilation vs. Padded Back Panel:


Daypacks with back panel ventilation have a concaved feature that creates an air pocket so that the sweat can evaporate off of your back. Daypacks with a padded back panel are reminiscent of a traditional backpack, with the pack resting directly on your back. Below are some things to take into consideration in determining which feature you want in your daypack.
Back Panel Ventilation: Packs with this feature generally cost more than padded back panel daypacks. They are great for helping your back not get super sweaty (which means less water loss). However, this feature does have its downsides. From personal experience, I have found that back panel ventilation can make it harder to pack your gear efficiently or to fit odd-shaped gear.
Padded Back Panel: Packs with a padded back panel are usually cheaper than packs with back panel ventilation, they are easier for packing gear and digging things out of the bottom of your bag. However, you will sweat more wearing a pack with a padded back panel.
Panel-loading vs. Top-loading:


Panel-loading Daypack: These resemble a regular backpack in that it has a zipper that allows the front part of the pack to fold out for easy packing. One benefit to a panel-loading daypack is it is typically easier to keep organized.
Top-loading Daypack: These have one opening at the top that closes with a drawstring. A benefit of a top-loading daypack is it is easier to “over” pack (i.e. really stuff it to the gills). This is due to the drawstring closure being more forgiving than a zip closure when it comes to squeezing in extra supplies. But the drawstring closure can make it hard to find gear…meaning you might have to pull a bunch of stuff out to find something that has fallen to the bottom of your pack.
Additional Features to Consider:
Hydration Compatiable
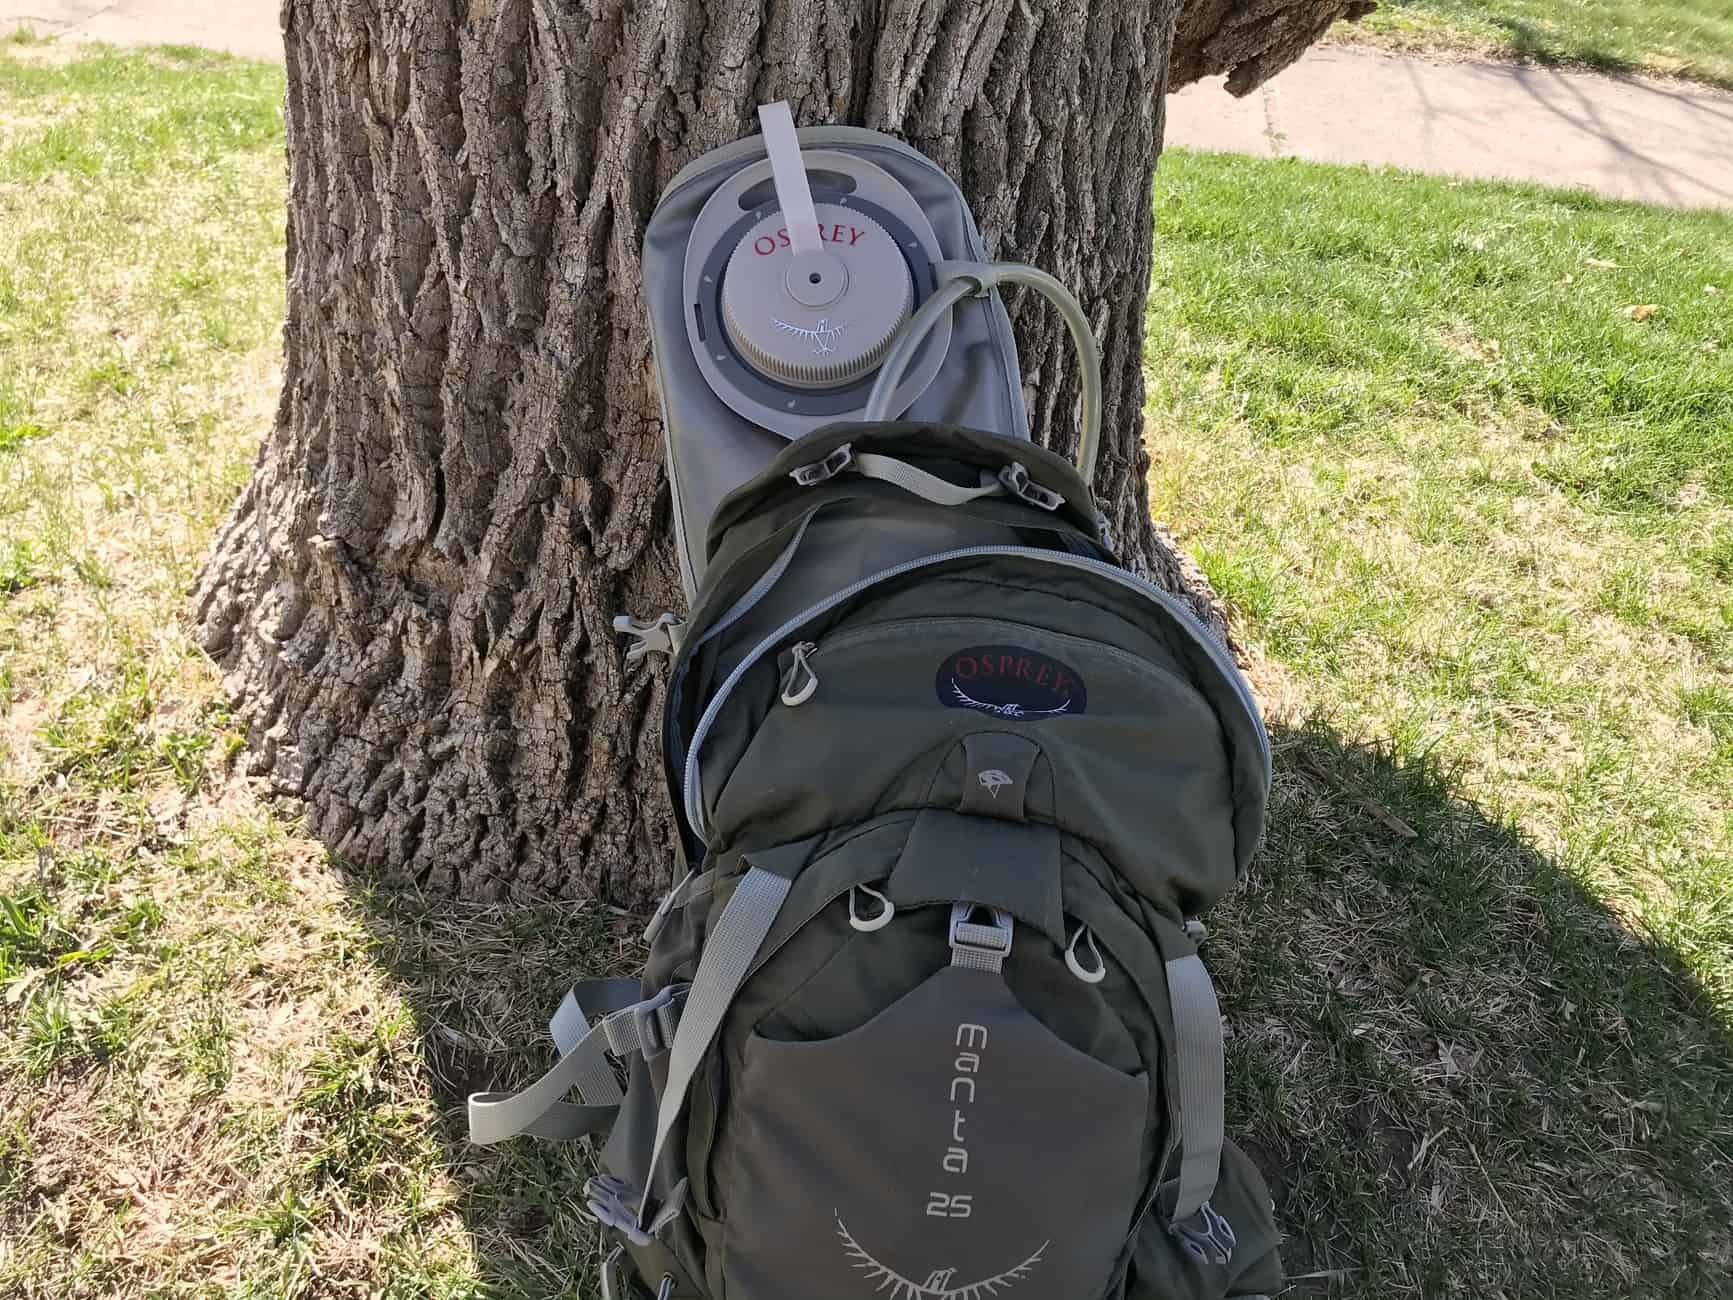
Some daypacks have the ability to carry a water bladder. This makes it easy and convenient for drinking water while on the trail. In my opinion, this is a must-have feature! Generally, you don’t have to pay extra to get a pack that is hydration compatible; however, not all daypacks that are hydration compatible come with a bladder so there may be an additional charge to buy one.
Hip Belt Pockets
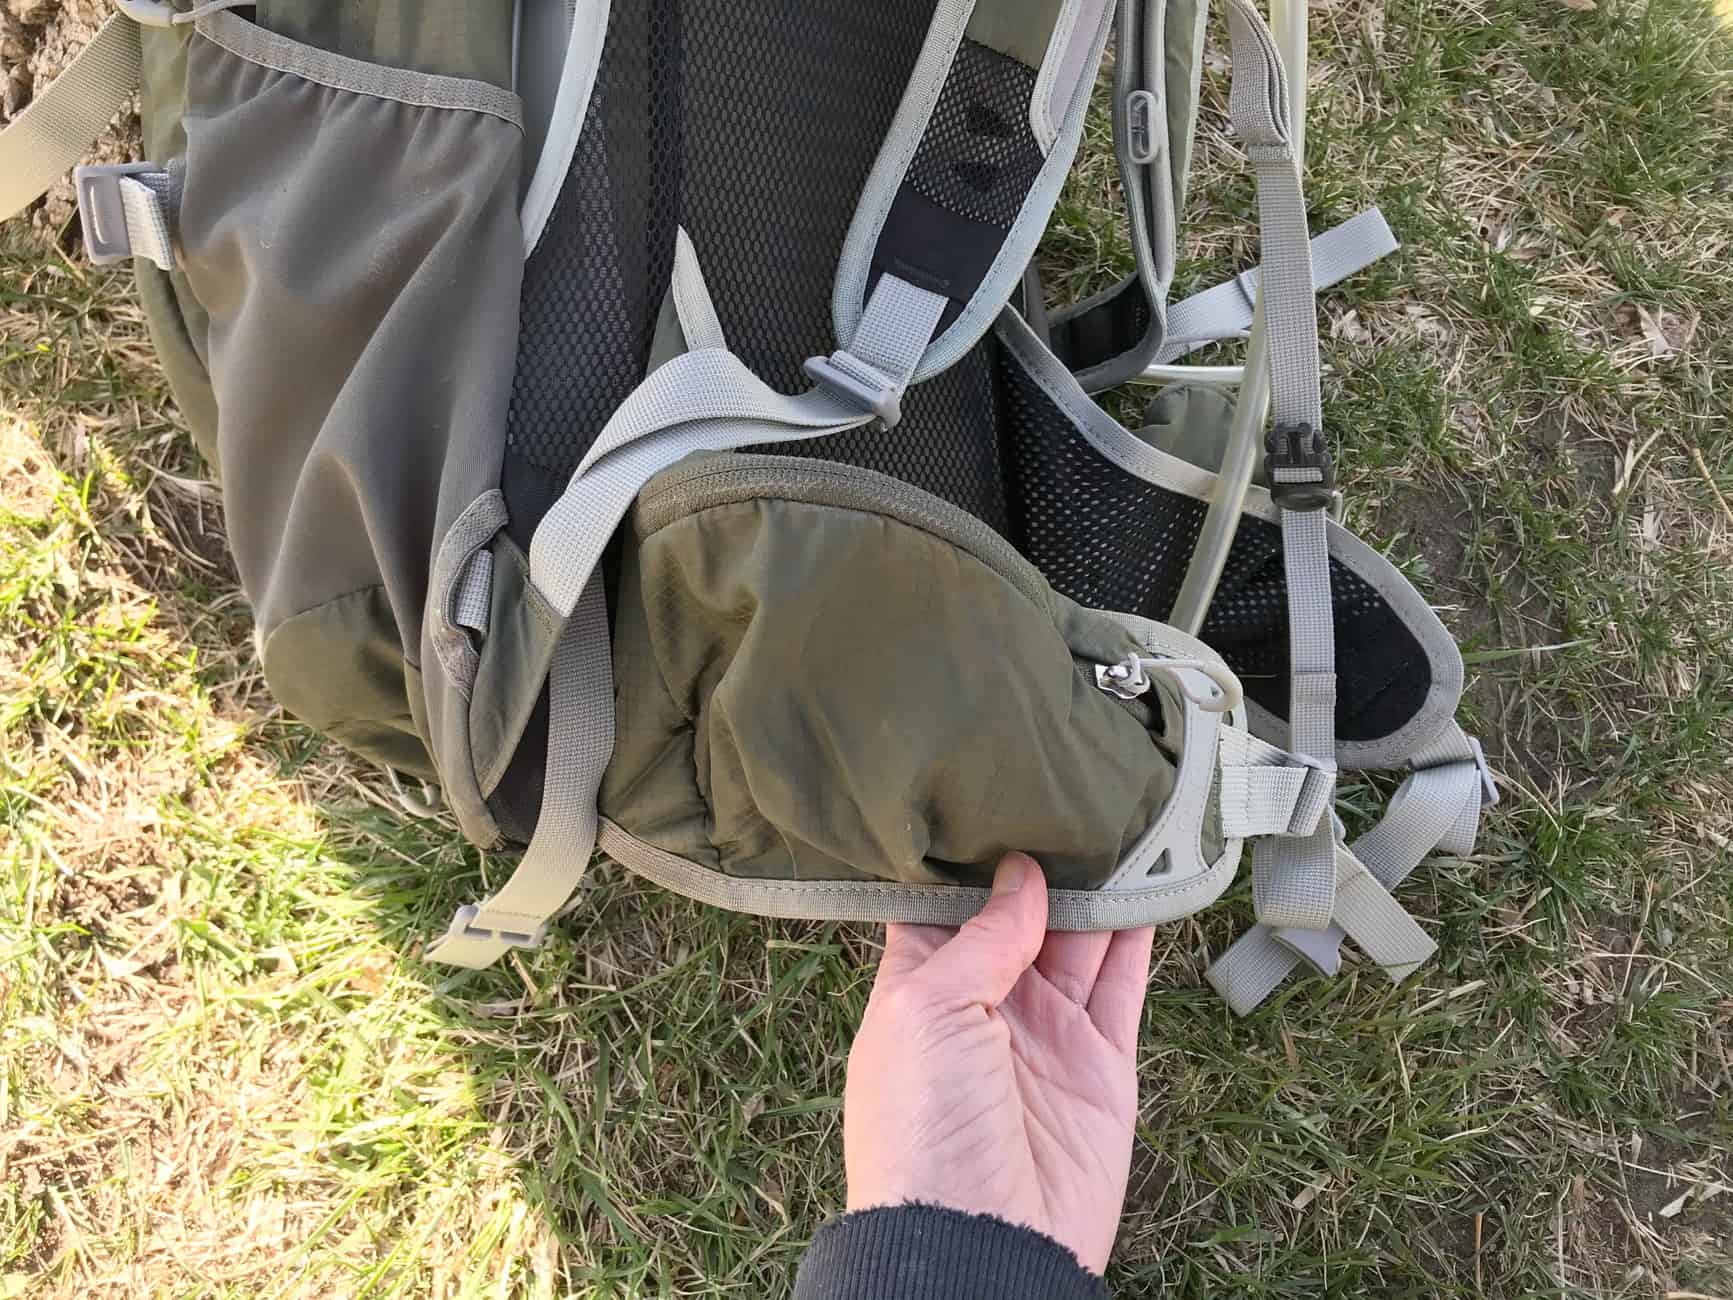
If you get a daypack with waist straps then look into getting a pack with hip belt pockets. These are super handy for carrying frequently used items, such as hand sanitizer, lip balm, car keys, snacks, tissues, etc.
Integrated Rain Cover

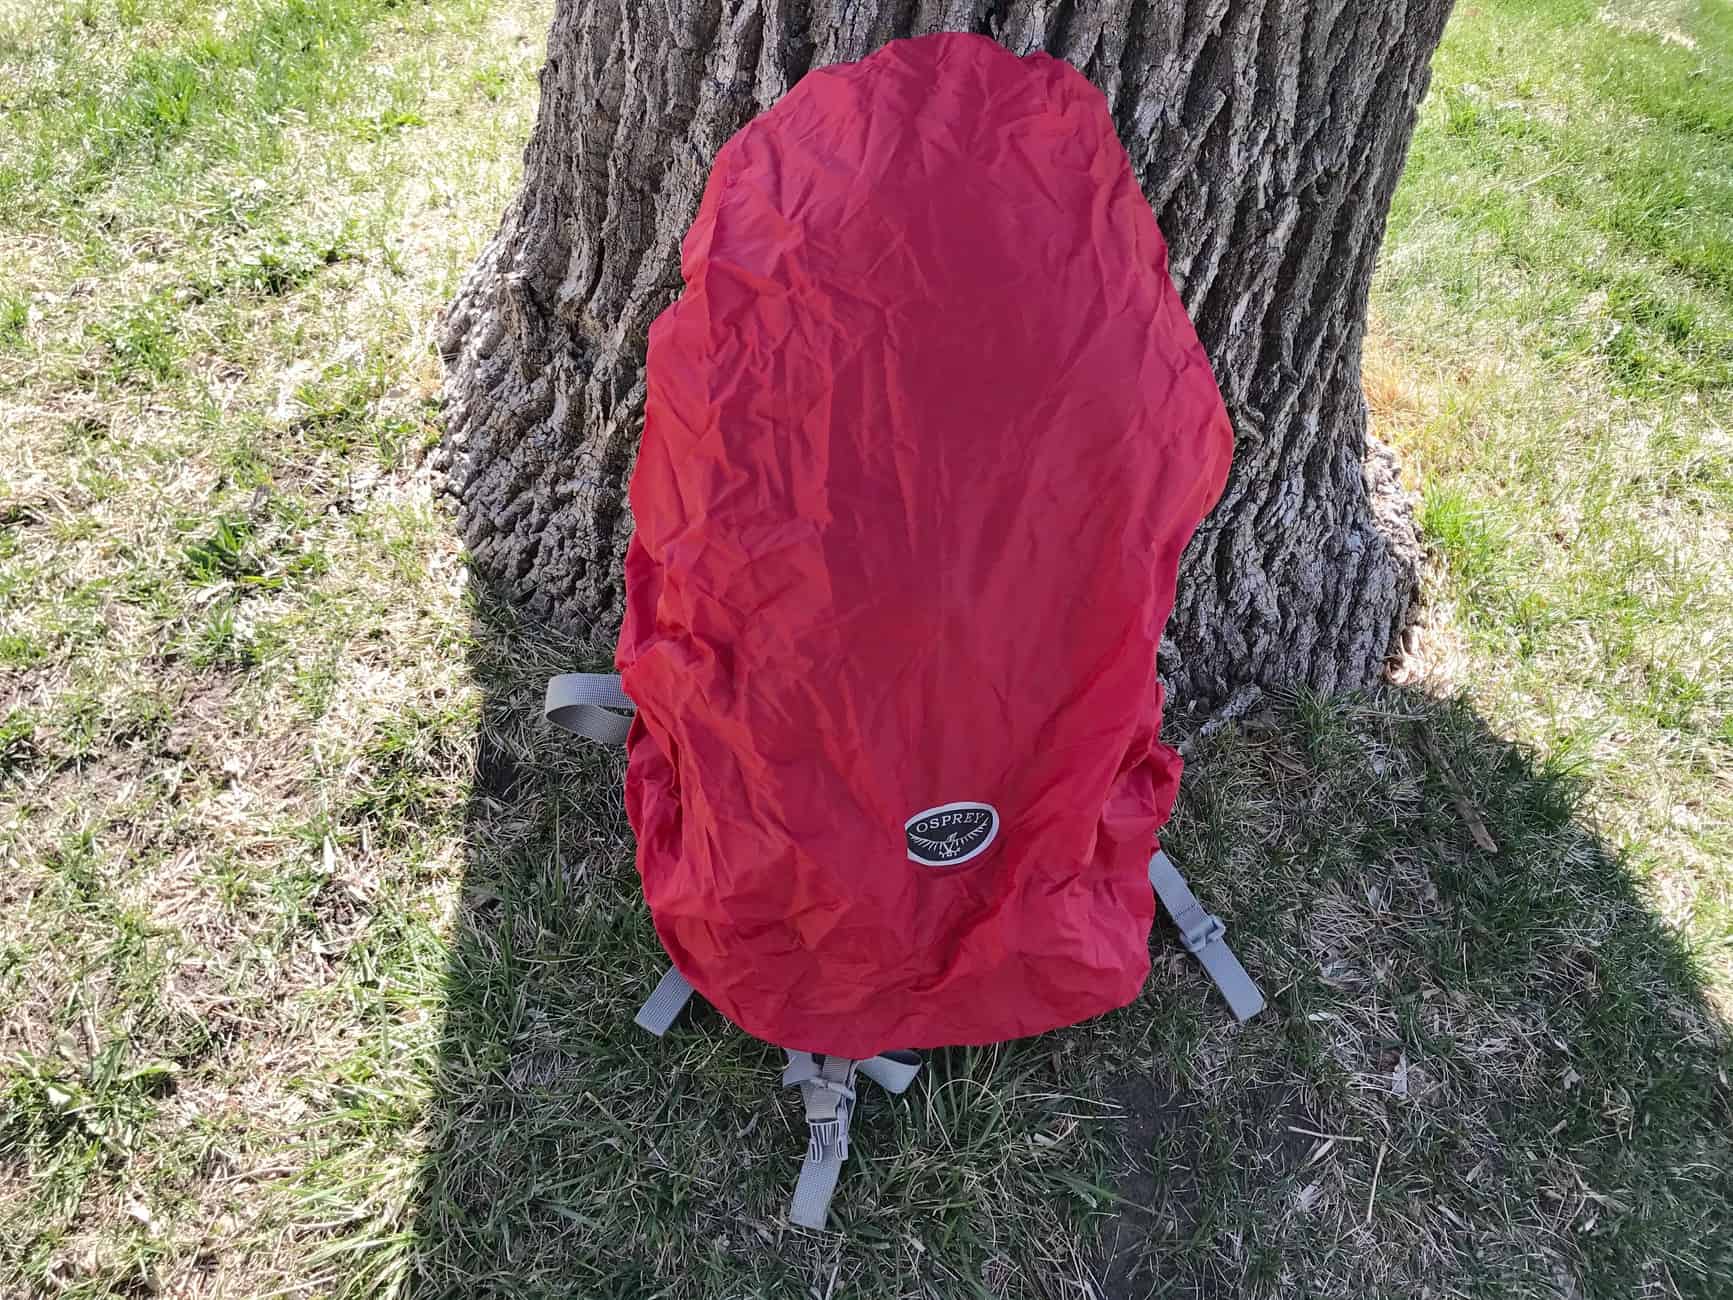
If you live somewhere rainy or plan on adventuring in a variety of weather then you might want to consider getting a pack with an integrated rain cover. They are super handy for keeping your gear dry.
Trekking Pole Attachments
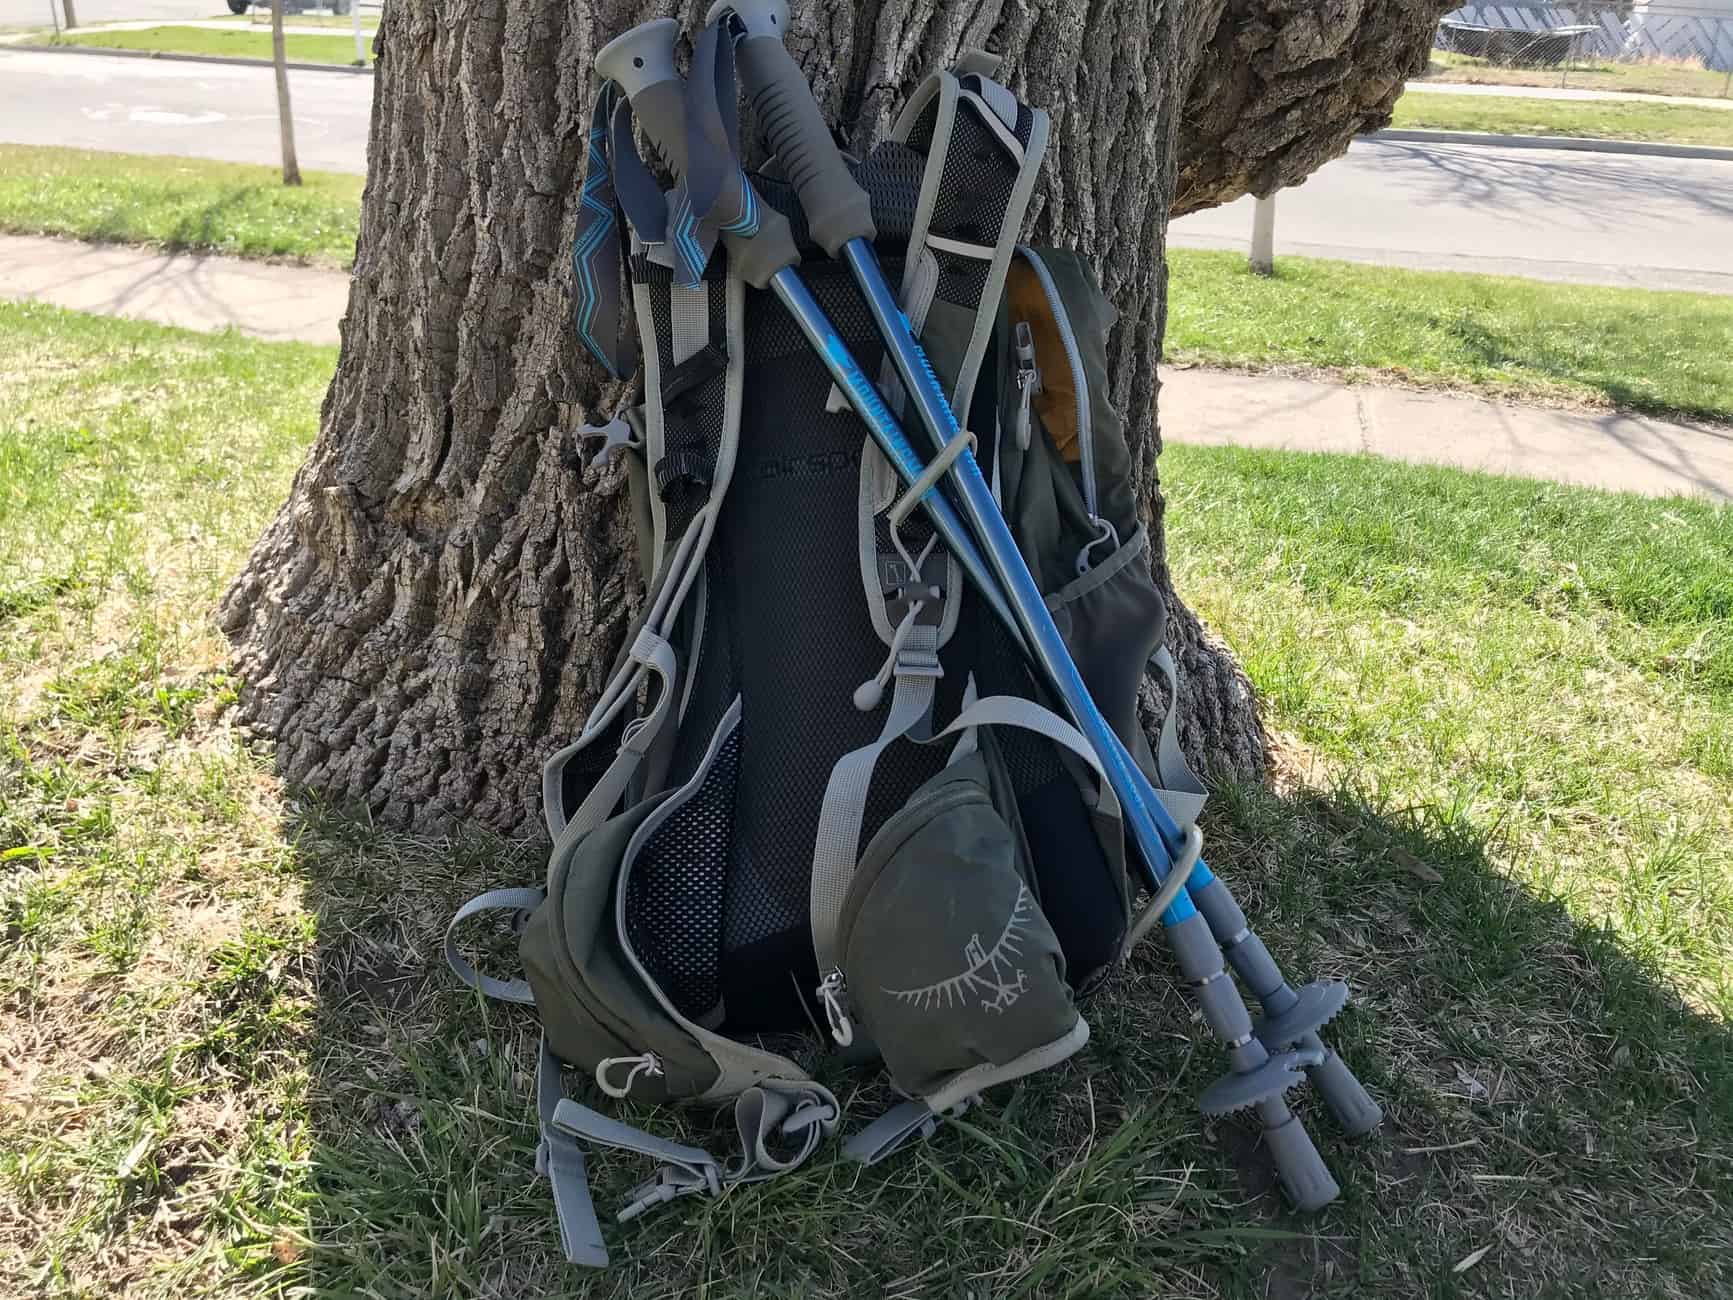
If you enjoy hiking with trekking poles than you might want to consider getting a bag with trekking pole attachments so that you can easily store your poles when not in use.
Side Pockets

Some daypacks come with side pocket storage. This can be very handy for carrying a bottle of gatorade or for carrying sippies for your kids.
Daisy Chains

If you plan on using your daypack for rock climbing/mountianeering or another activity that requires additional gear than you will want to consider getting a pack with daisy chains. Daisy chains are webbing loops that have been sewn onto the pack. They give you the option to to attach additional gear to your daypack.
Helmet Attachment
If you will be using your daypack for an activity that requires a helmet (rock climbing, mountaineering, mountain biking, skiing, etc.) than you may want to consider getting a pack with a helmet attachment.
Step Four: Fit
Now onto the most important step of picking the perfect daypack: finding one that fits! At the end of the day, this is what is most important! It doesn’t matter how fancy your pack is if it doesn’t fit!
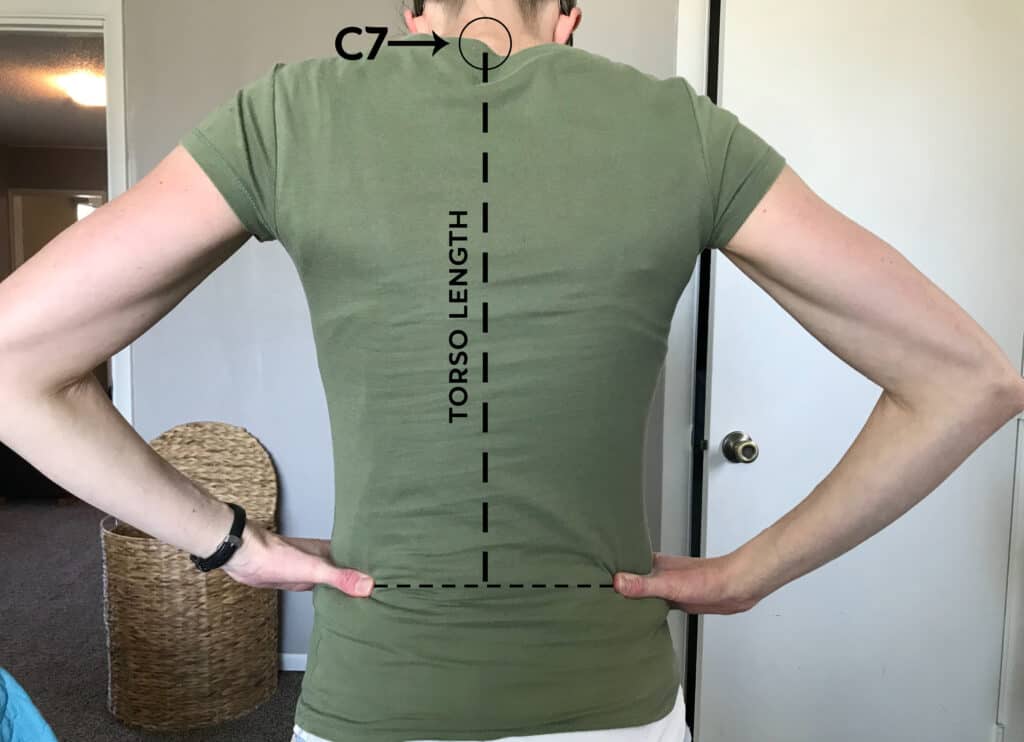
To determine what size of backpack you need you will need to measure your torso.
To do this measure from the C7 vertebra down to the top of your hip bones. The C7 vertebra is that bony part of your spine that sticks out when you drop your chin to your chest. To find the top of your hip bones, slide your hands down your waist until they are resting on top of your hips.
If your torso length falls between two sizes be sure to visit a local outdoor sporting goods store to try on both pack sizes to see which one fits the best. While trying on packs you will also want to make sure that the hip belt fits (i.e that you can get it snug enough or loose enough to fit comfortably). The hip belt it should rest about 1 finger length above your hip bones.
If you are nervous about sizing yourself for a pack, you can always drop into a REI for a complimentary sizing.
Step Five: Price
Now comes the major hurdle for most families when it comes to getting nice gear – price! The important thing to remember is that under no circumstances do you need to buy new gear. In fact, one of the best ways to pick up gear is to buy it second-hand or discounted. Just be sure to check the return policy (or talk to the individual you are buying it from) because you will want to be able to return the pack if it doesn’t fit!
Below are some sites you can checkout for finding discounted or used gear:
REI Garage Sales (or check out their used gear site)
There you Have it!
Everything you ever wanted to know (or didn’t want to know) when it comes to buying a daypack. What additional questions do you have? Don’t forget to pin this post below for future reference!
